
Monday Kids RGB LED Matrix Dream Light Circle DIY Kit Music Spectrum Module 8x32 Dot Matrix Electronic Fun LED Light Matrix DIY Electronic
$18.57
Availability:
In stock
SKU
EK377
Payment Security

We are PayPal Verified
PayPal is a secure and trusted payment processing service that allows you to shop online. PayPal can be used at mondaykids.com to purchase items by Credit Card (Visa, MasterCard, Discover, and American Express), Debit Card , or E-check (i.e. using your regular Bank Account).
- Brand Name: Monday Kids
- Model Number: rgb dream light circle
- Condition: New
- Supply Voltage: 5V
- Dissipation Power: none
- Operating Temperature: -30~85 celsius
- is_customized: Yes
- Application: Electric Toy
- Type: Decoder Board
- Package: Well package
- Operating voltage: 5V USB power supply
- Installation method: DIY welding assembly
- Name: electronic diy kit
- Use: led music spectrum electronic diy
- Feature: led diy kit light
|

for schematic please click here
for tutorial please click here
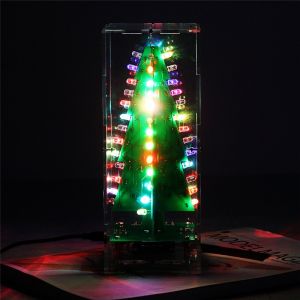
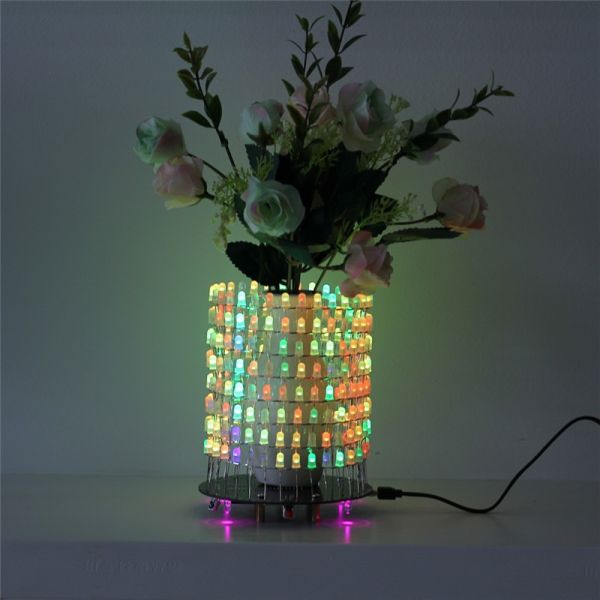
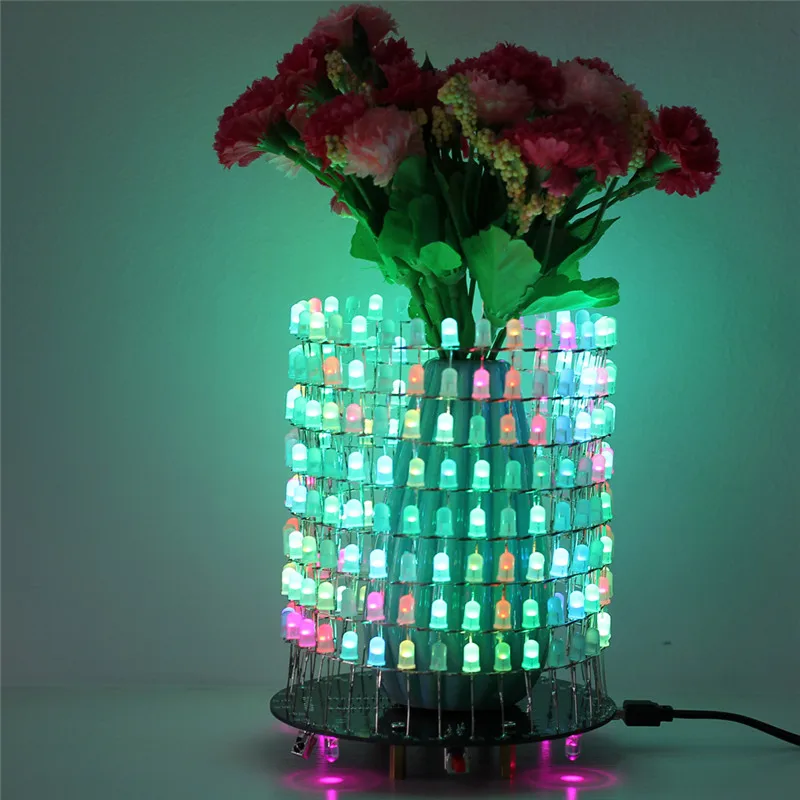
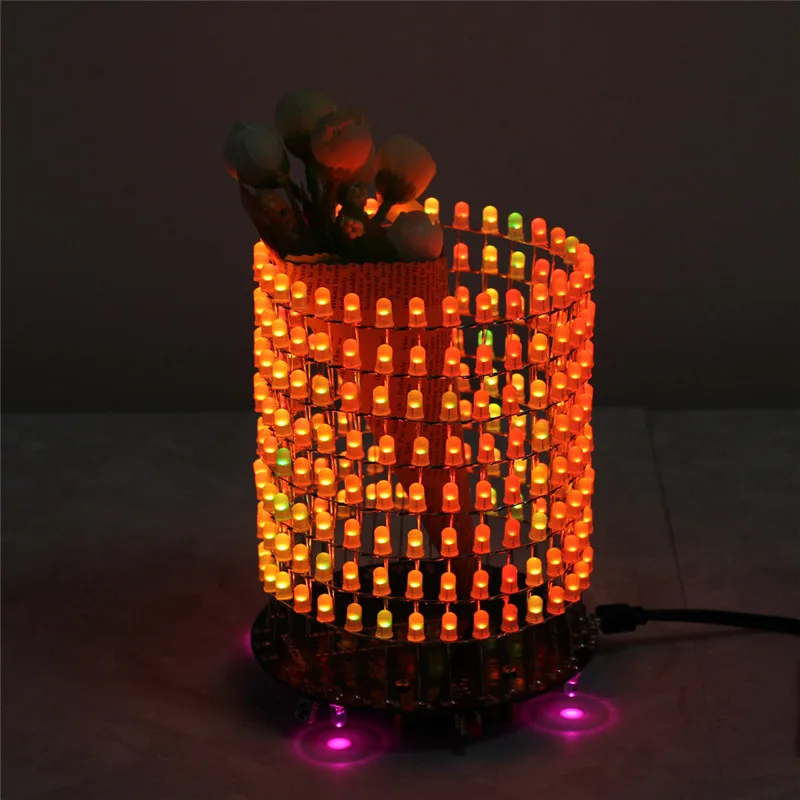
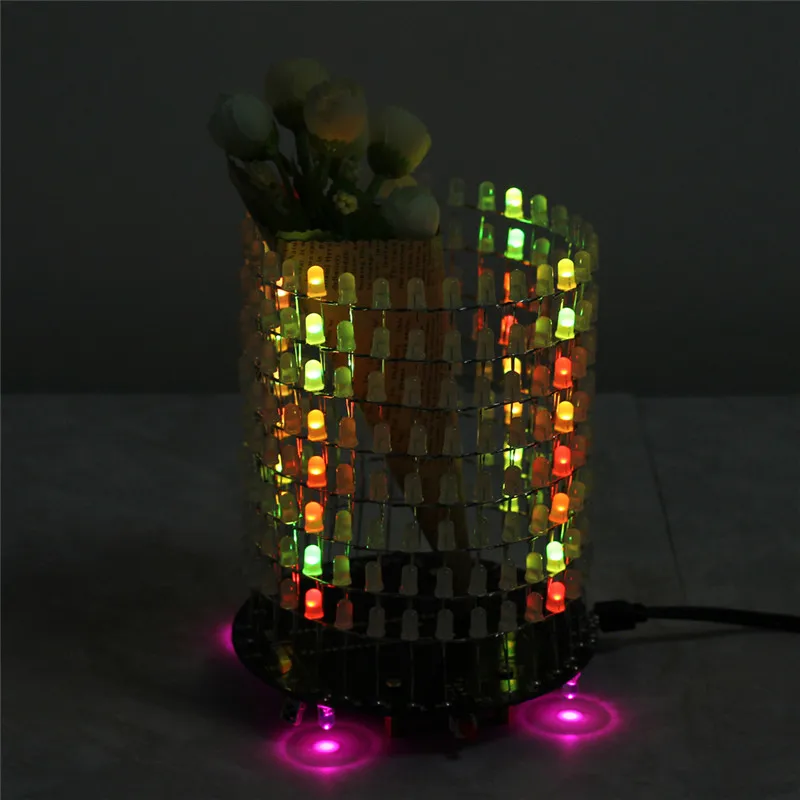
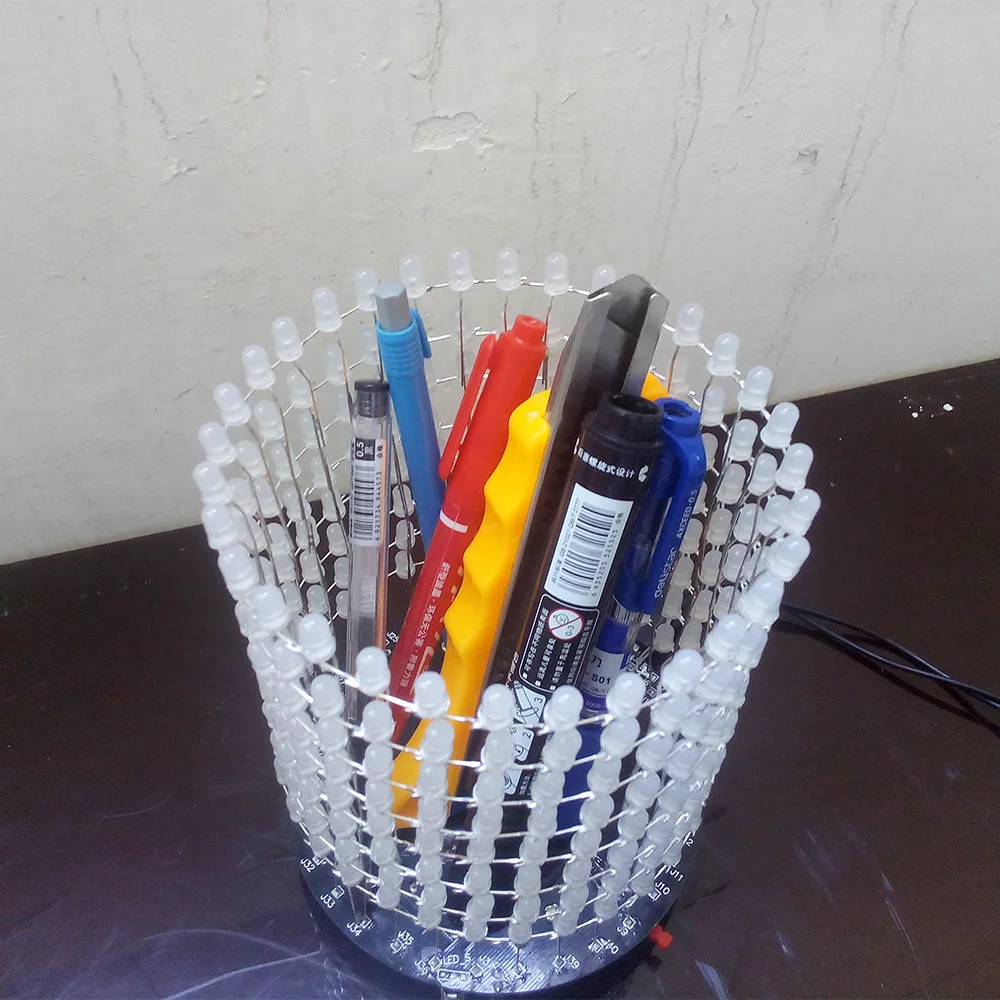
This is a light cube DIY kit that you need to weld and assemble by yourself. The bottom plate comprises a circuit board and component parts. The 256 LED lights make up a cylindrical stereo space. A variety of cool model showing a three-dimensional effect. It's better to watch in the night.
2. Function:
1>. Design of 8*32 (dot matrix) lamp
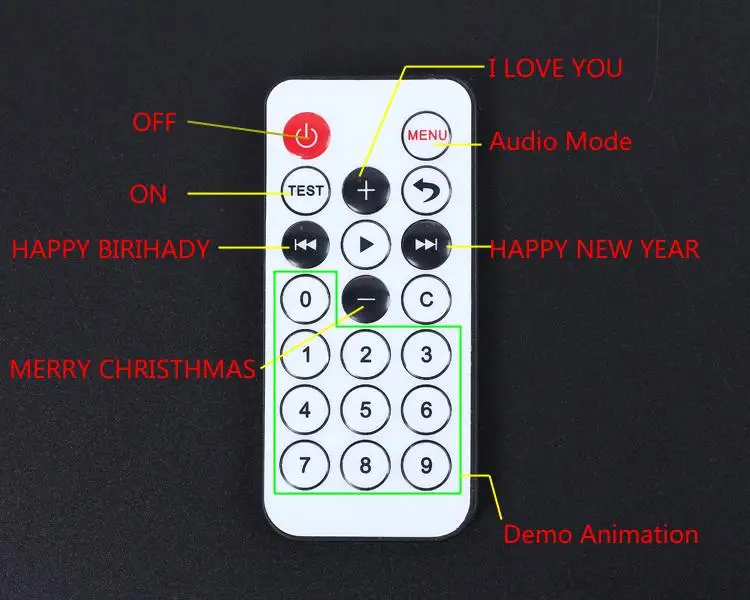
2>. Various modes can be switched as your wish:
---Offline animation models (up to a dozen)
---Alphabet animation model (four English festivals)
Four English expressions:
I LOVE YOU
HAPPY BIRTHDAY
HAPPY NEW YEAR
MERRY CHRMonday KidsMAS
---Music spectrum mode (four audio modes)
The spectral mode needs to be connected with an input audio signal, so that the optical cube can beat the music spectrum rhythm.
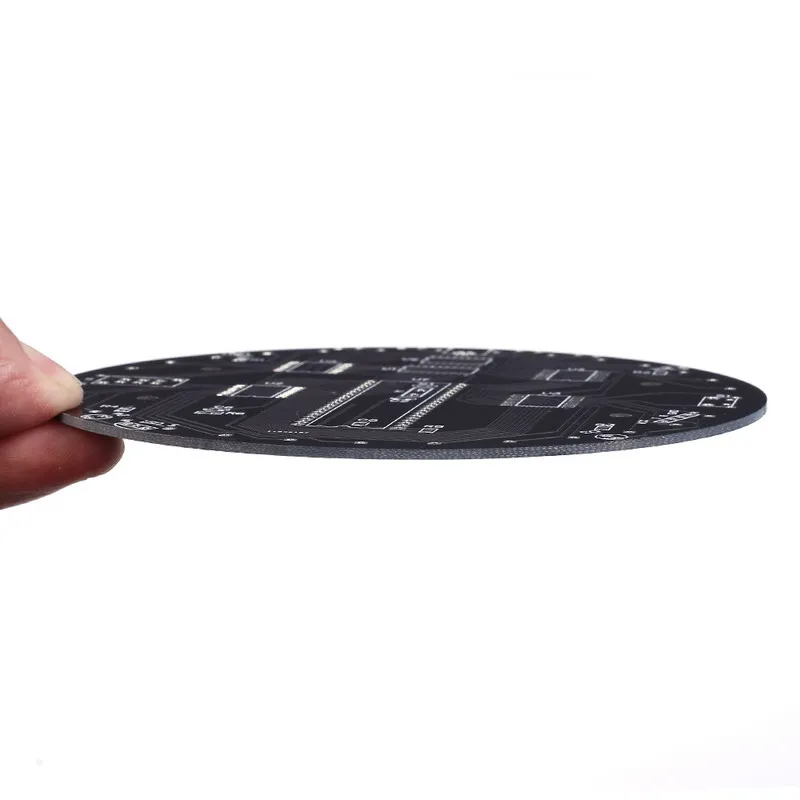
3>. The circuit board uses black classic painting, which adds a mysterious feeling
4>. Remote control buttons can be converted at any time mode
3. Parameters:
1>.Operating voltage: 5V USB power supply
2>. Installation method: DIY welding assembly
3>. Power supply mode: mobile phone charger, computer, charging treasure
4>. Circuit board material: 1.6mmRF--4 board

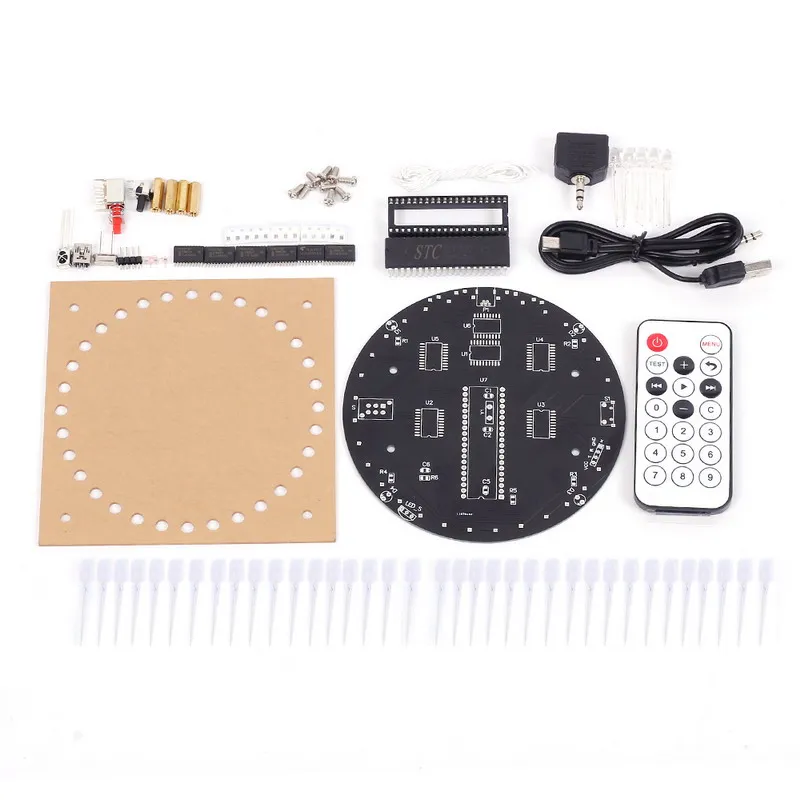
NOTE :Users can complete the installation by PCB silk screen and component listing
5. Welding:
Attention: 30W electric iron, and do anti-static measures, welding time should be controlled within 3 seconds.
Making process:
1>. Prepare the making templates.
2>. Break the LED short pin(negative pole) and the long pin (positive) into 90 degrees.
3>. Put the good LED into the template, and the short pin outwards.
4>. LED short pins are welded together clockwise, from the first point to the last point.
5>. When the LED short pins are welded together, the excess pins are cut off. Make 8 lamp rings by the same method.
6>. Make sure that the positive electrodes between the two LED lamps rings are welded together. Please refer to the picture of the space between layers.
7>. Make two 4 layers of lights, through the above steps, and then the two 4 layer lights welded together, complete the lamp post.
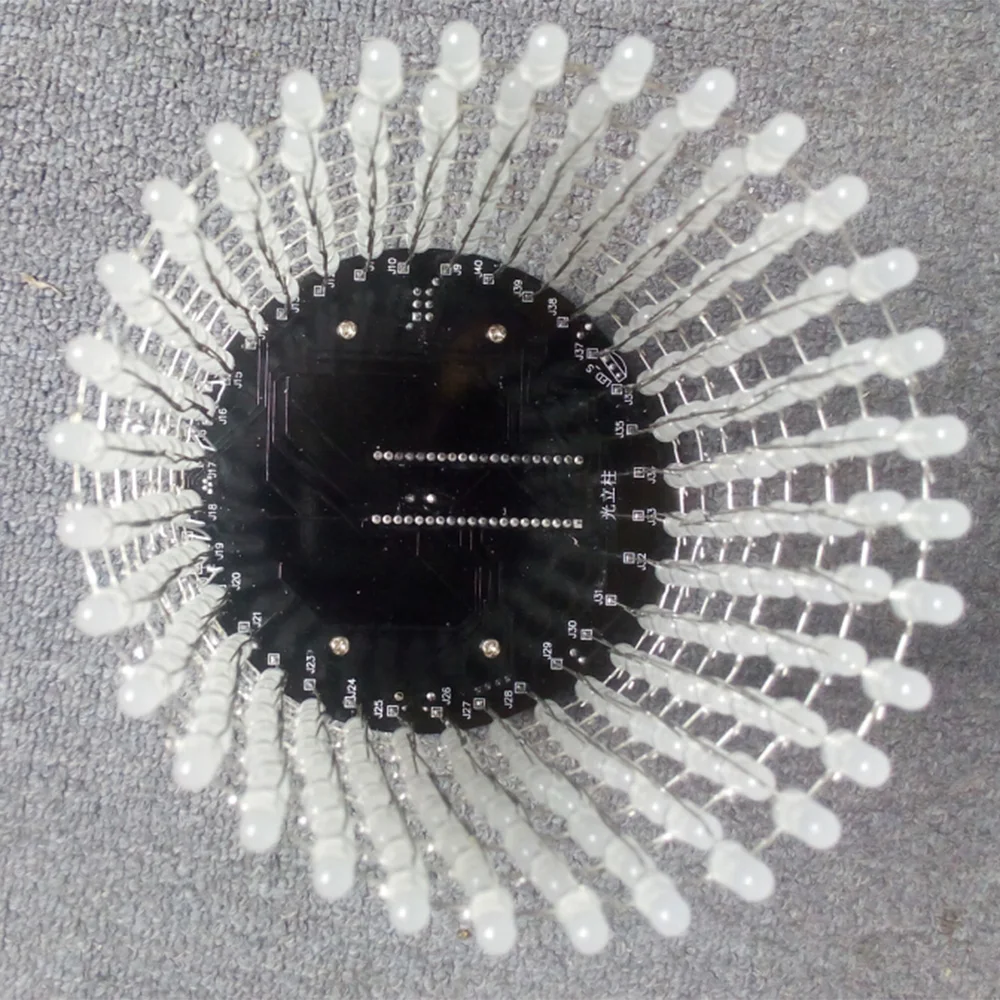
8>. Install the LED lamp post on the circuit board. Welding the positive (long foot) of the next row of LED to the J9--J40 of the circuit board, welding the J1 to the first layer of the plate with a white wire, and welding the J2 to the second layer. Finish it by analogy.
6. Music spectrum usage:
1>. Connect the T port of the power audio line to the package input.
2>. Connect the power audio line USB terminal to the computer USB interface power supply or other +5VUSB power supply interface.
3>. Connect the power audio line 3.5mm earphone connector to one of the two audio seats.
4>. Connect the audio input line of the audio device to the other end of the two audio seat.
5>. Connect the input of a two audio seat to the mobile phone or computer.
7.Basic Instruction:
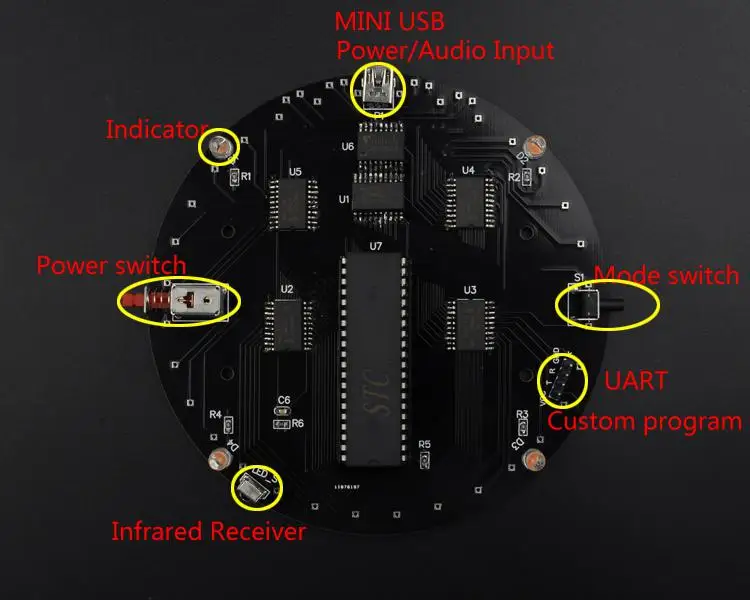
8. Remote control button description


- Unit Type: piece
- Package Weight: 0.2kg (0.44lb.)
- Package Size: 15cm x 12cm x 10cm (5.91in x 4.72in x 3.94in)
Write Your Own Review
Discover More Products from Its Parent Categories: