
Monday Kids 1W LED Light Control Night-Light DIY Kit Photosensitive Sensor CON-L Nightlight Electronic Production Suite Electronic DIY Kit
$1.85
Availability:
In stock
SKU
EK473
Payment Security

We are PayPal Verified
PayPal is a secure and trusted payment processing service that allows you to shop online. PayPal can be used at mondaykids.com to purchase items by Credit Card (Visa, MasterCard, Discover, and American Express), Debit Card , or E-check (i.e. using your regular Bank Account).
- Brand Name: Monday Kids
- Condition: New
- Type: Logic ICs
- Supply Voltage: AC 220V
- Operating Temperature: -20 ~ 60 Celsuis
- is_customized: Yes
- Model Number: CON-L Night-Light Kit
- Dissipation Power: 1W
- Application: Electronic Circuit
- Power Consumption: 1W
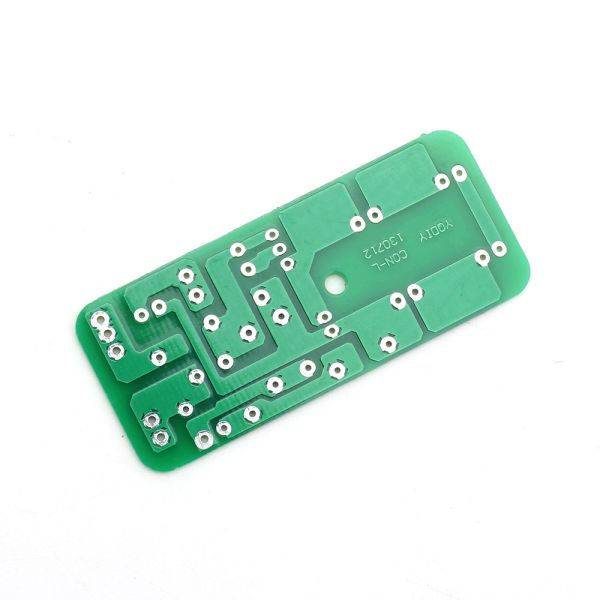
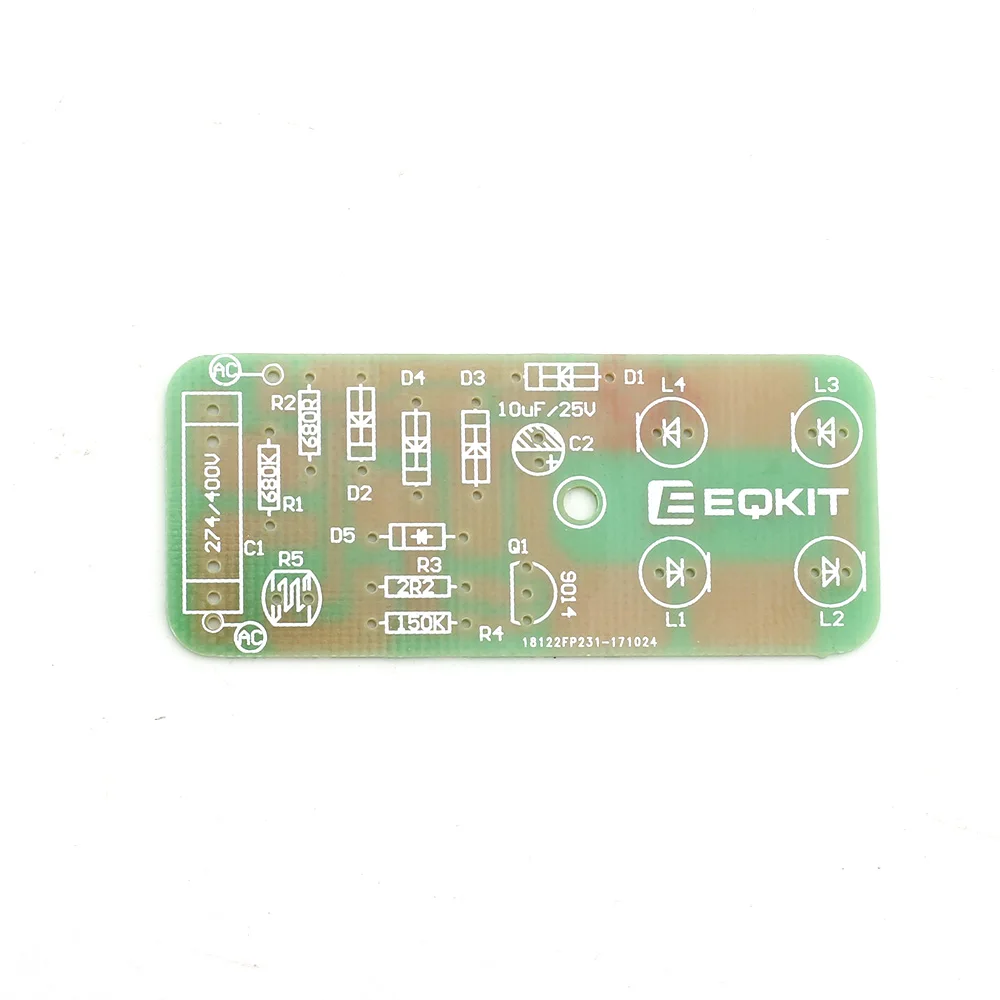
- PCB Size: 25*58mm
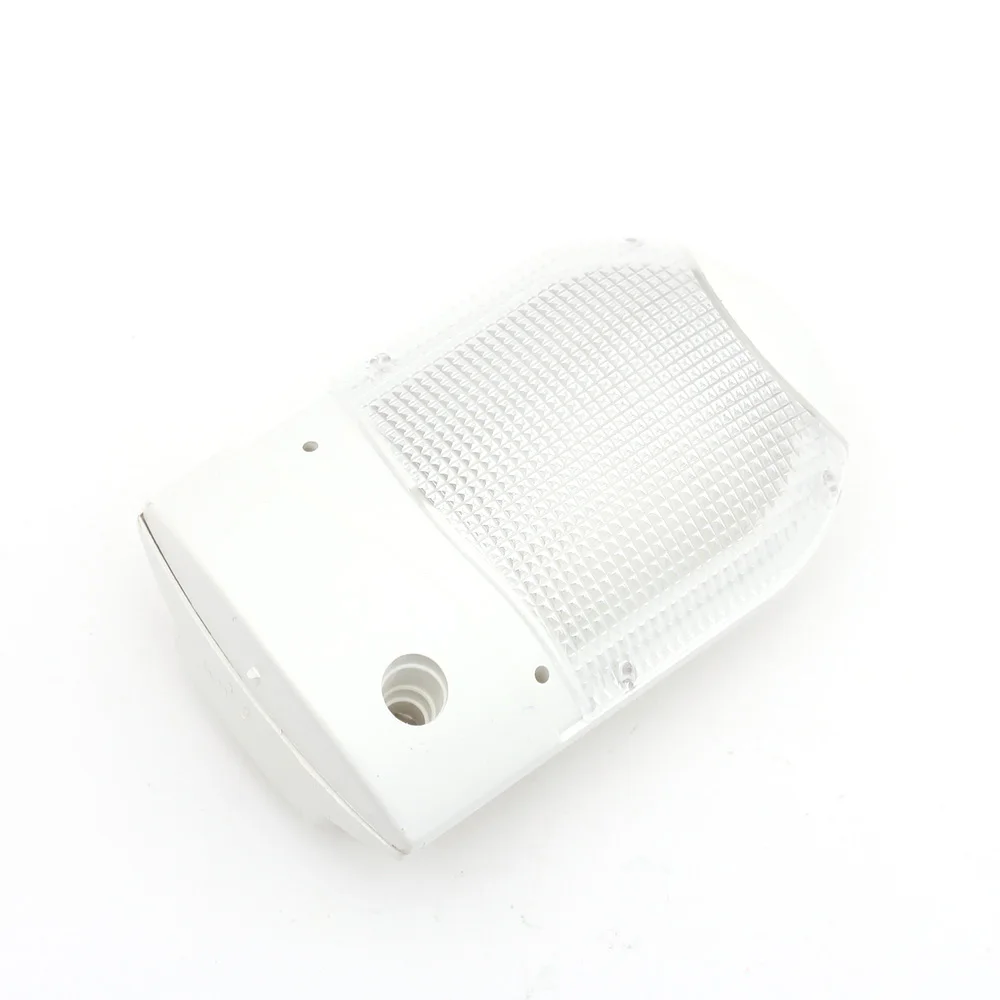
- Kit Dimensions: 85*55*32 mm
- Use: diy electronic kit electronique

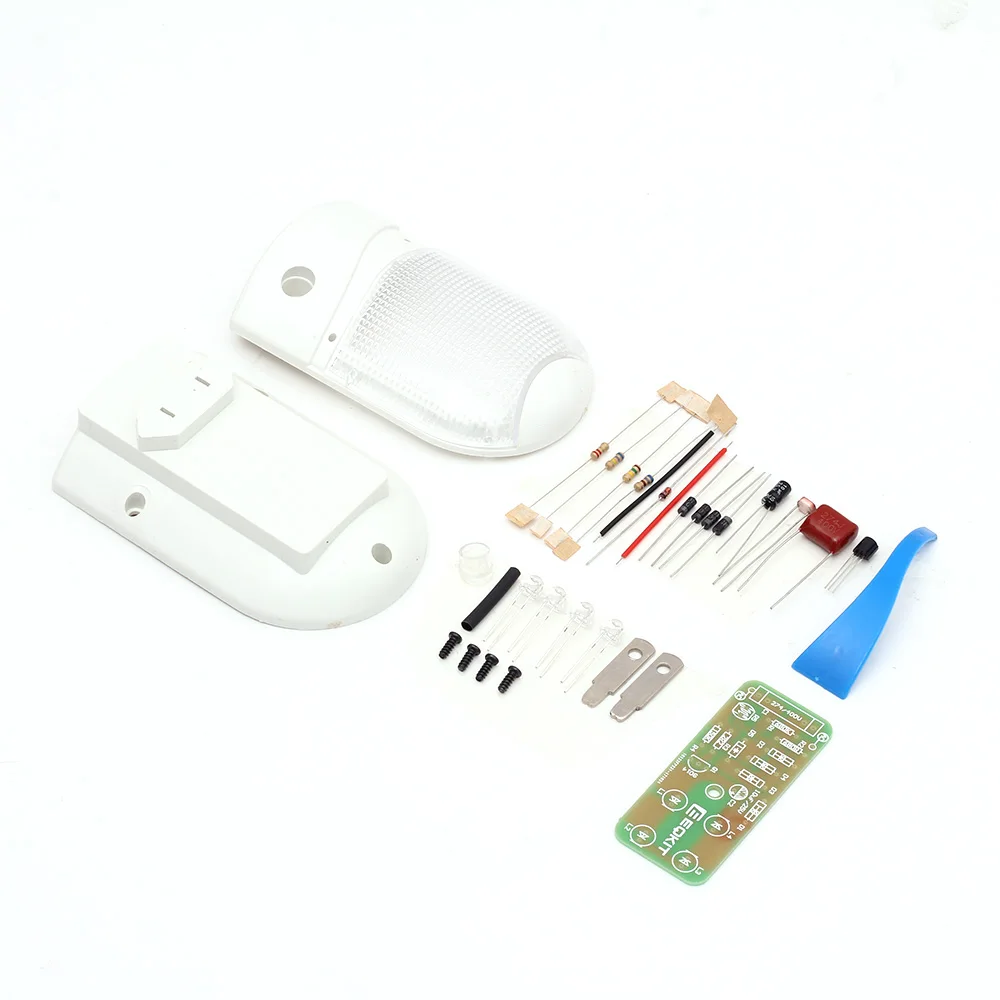
Feature:
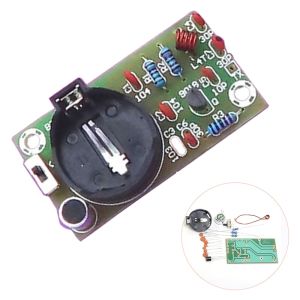
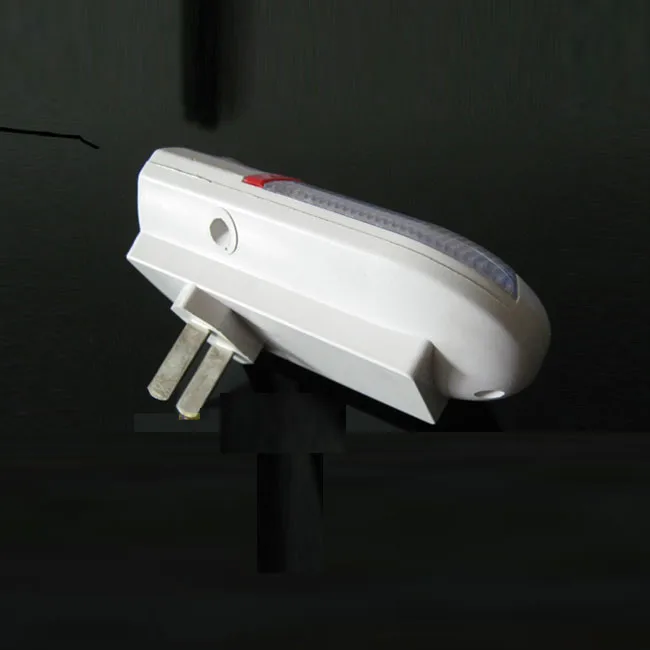
Kit Name: Optical LED Small Night Light
Working Voltage: 220V
Power Consumption: 1W
PCB Size: 25*58mm
Kit Dimensions: 85*55*32 mm
Two. Schematic
R1, C1 constitute RC Buck circuit (non-isolated buck), R2 limiting; D1 ~ D4 constitute a bridge rectifier circuit, D5 voltage stable at 24V; Q1 load LED (L1 ~ L4) switching regulator , C2 filtering.
When daylight is strong, sensitive resistor R5 low resistance state, then Q1 basic voltage of approximately 0V, Q1 off, LED does not light.
Evening light dimmed, light-sensitive resistor R5 high-impedance state, 24V voltage is applied to the base of Q1 through R4, Q1 turns on, LED light.
CON- L light-controlled LED small night light, control luminous intensity of LED through the photosensitive resistance inducing the strength of the ambient light , it shuts down automatically during the day and opens automatically at night.
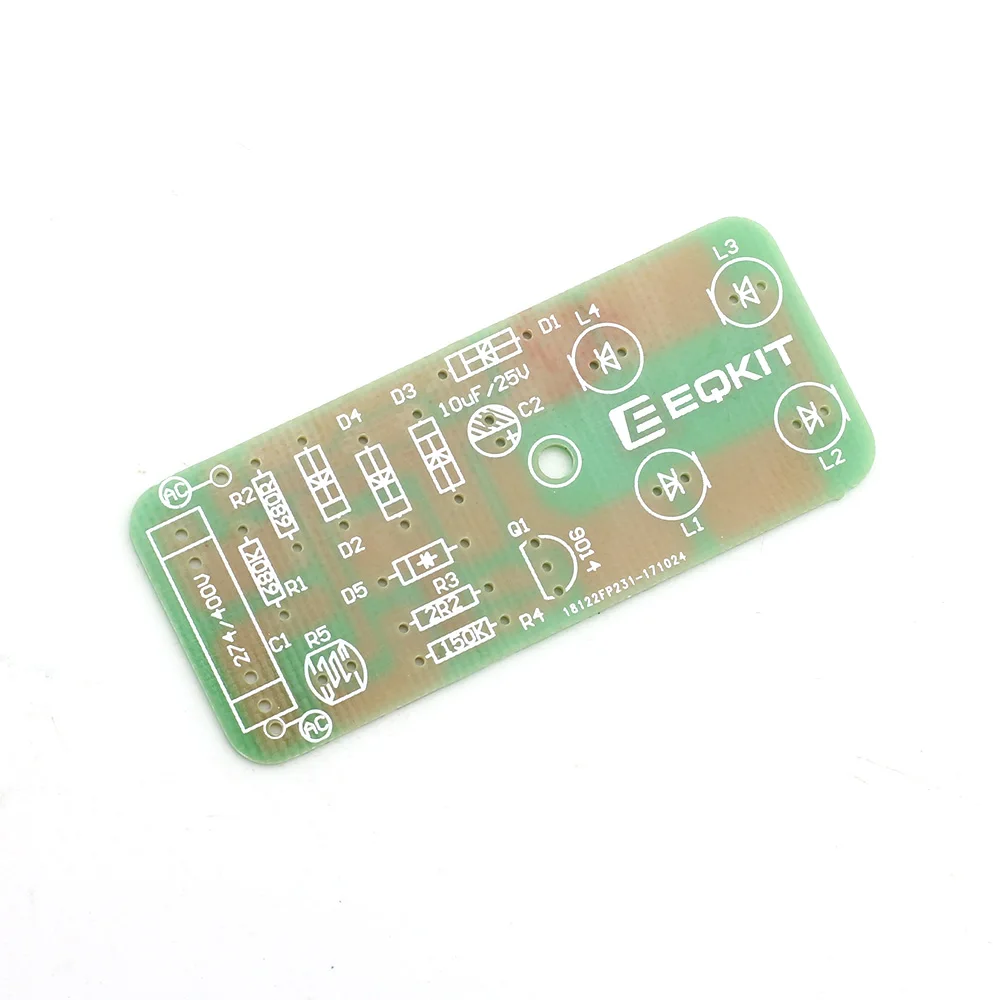
Three. Circuit schematics
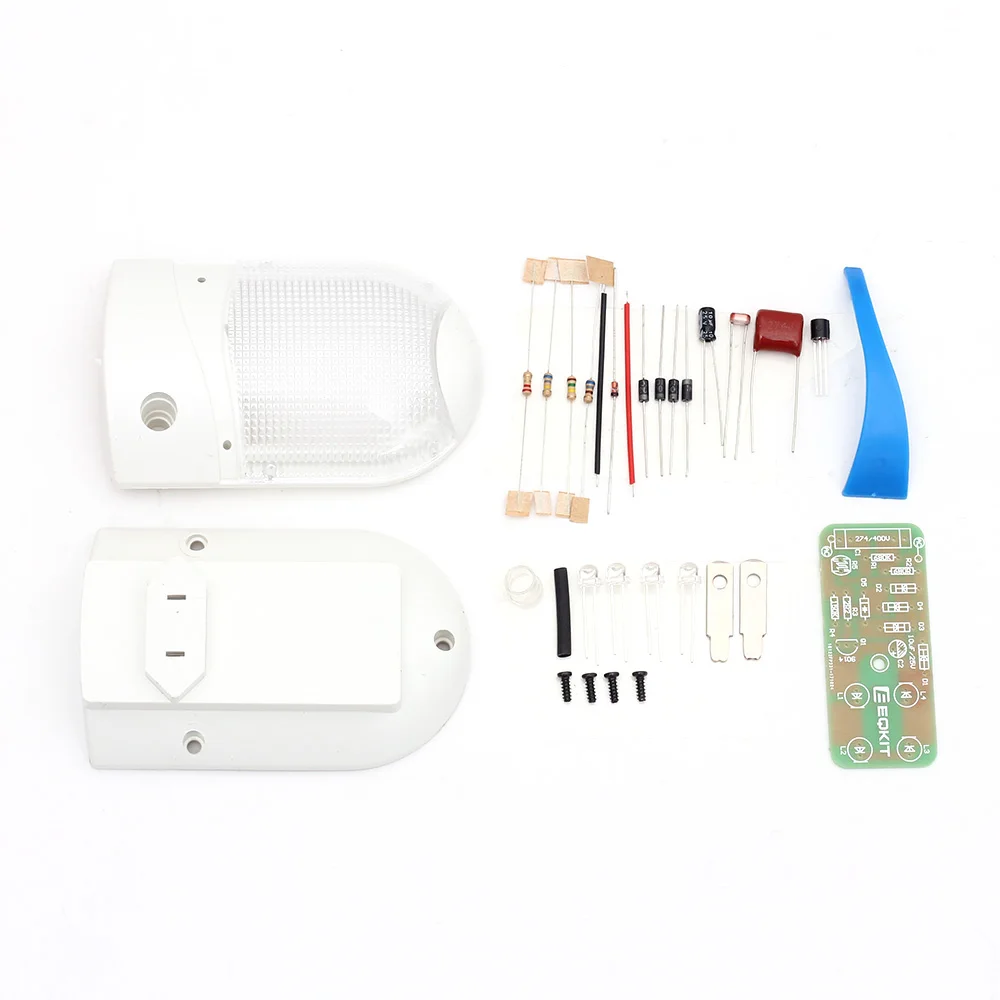
Component list
Component | Type | Label | Number | Component | Type | Label | Number |
Resistance | 2R2 | R3 | 1 | Wire | 50mm | 2 | 2 |
680R | R2 | 1 | Screws | M2.3*6 | 4 | 4 | |
150K | R4 | 1 | Heat shrinkable tube | F2*20mm | 1 | 1 | |
680K | R1 | 1 | PCB | 25*62mm | 1 | 1 | |
Photoresistor | 5528 | R5 | 1 | Front cover | 56*88mm | 1 | 1 |
Capacitor | 10uF /25V | C2 | 1 | Cover | 56*88mm | 1 | 1 |
274/400V | C1 | 1 | Shade | 1 | 1 | 1 | |
Diodes | 1N4007 | D1~D4 | 4 | Flu mask | 1 | 1 | 1 |
Zener diode | ST 24V | D5 | 1 | Trim | 1 | 1 | 1 |
LED | F5 | L1~L4 | 4 | Sheet metal | 2 | 2 | 2 |
Transistor | 9014 | Q1 | 1 | Instructions | A4 | 1 | 1 |
Please Note : Due to the use of non-isolated step-down circuit, so the night light after power, the board will still be higher voltage with, please do not touch circuit boards and related components to prevent electric shock!

Assemble Steps:
A. Shell Assembling
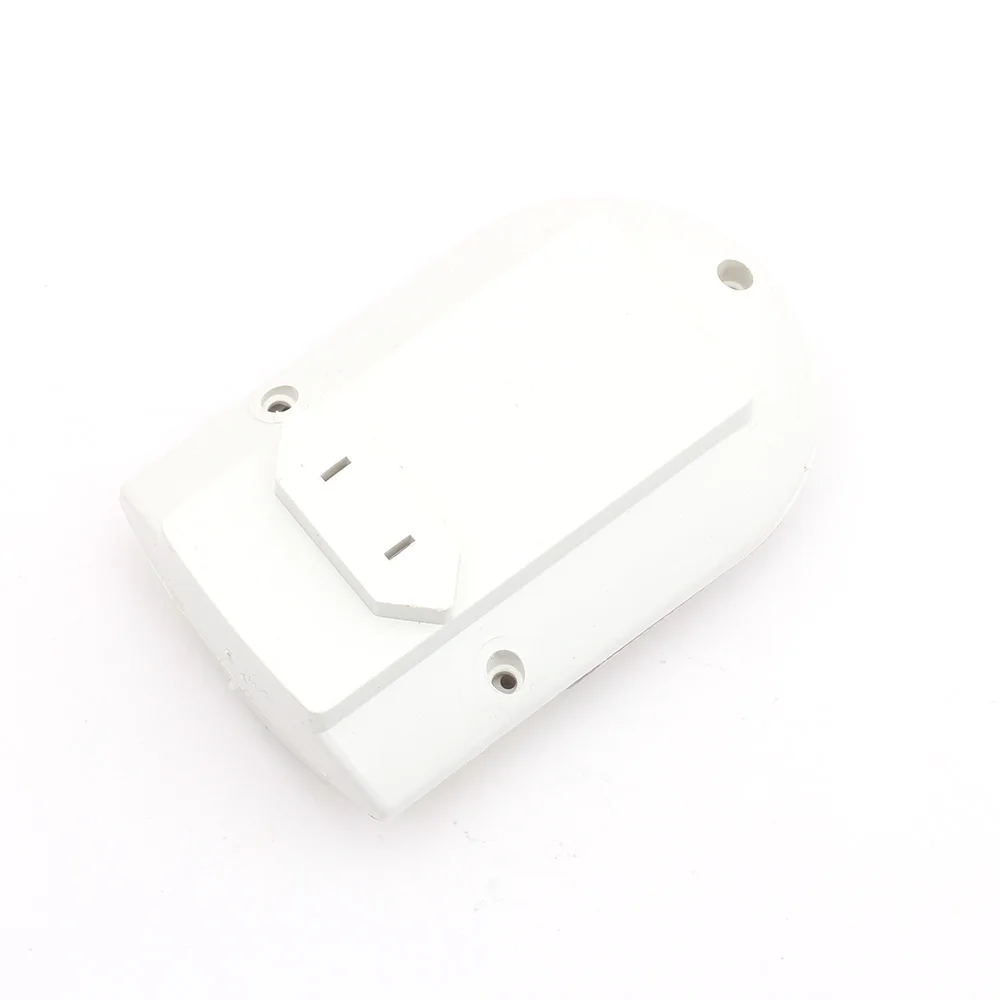
1. Install the plug plate 

2. Plus tin solder with the bottom of the plug plate bottom 
3. Install the Lampshade, Decoration Strip, Reflectors to the corresponding position 
B. PCB Welding Steps
1. Make the shrink tube cover the photoresistor pin, then heating the shrink tube with the soldering iron or lighter 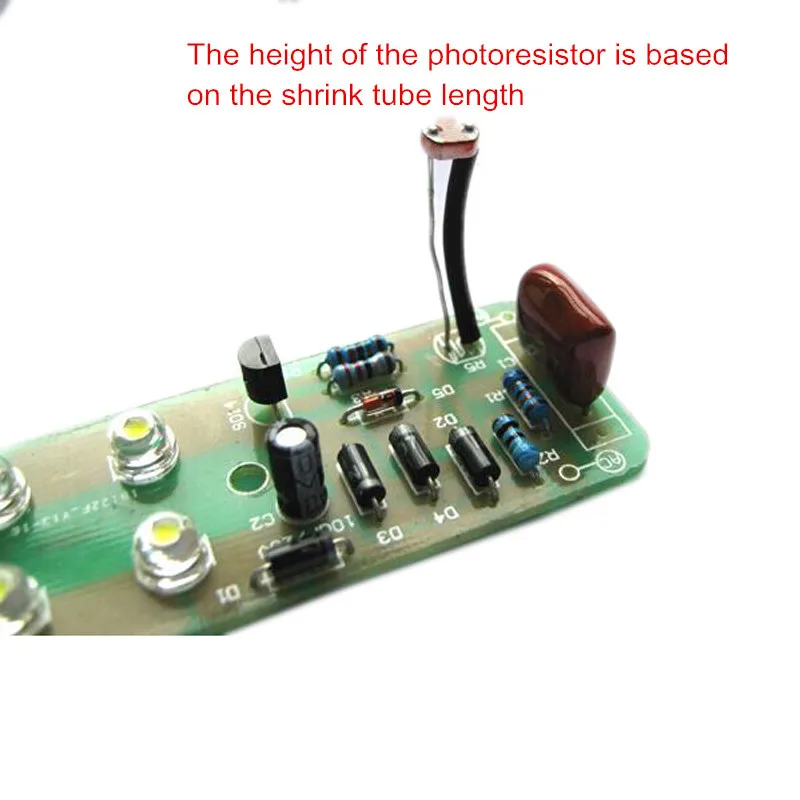

2. Weld Cable 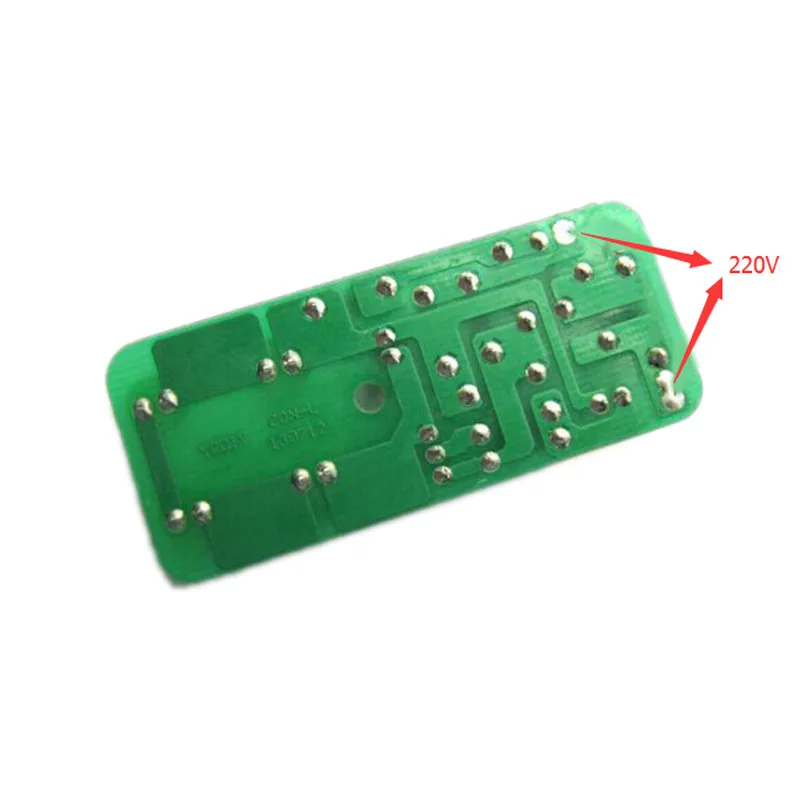
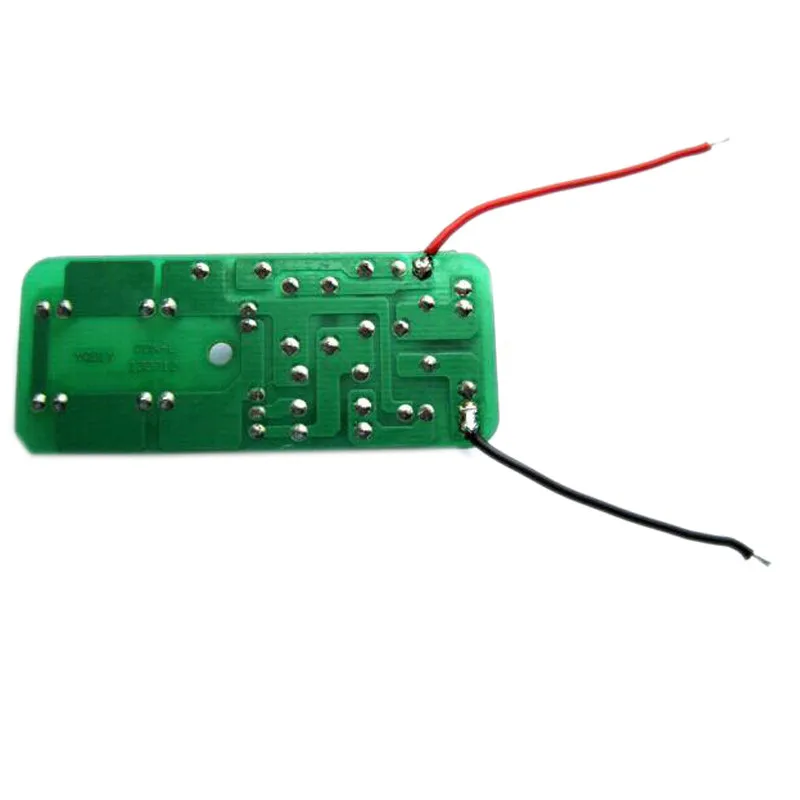
3. The wire and iron sheet should be wekded together 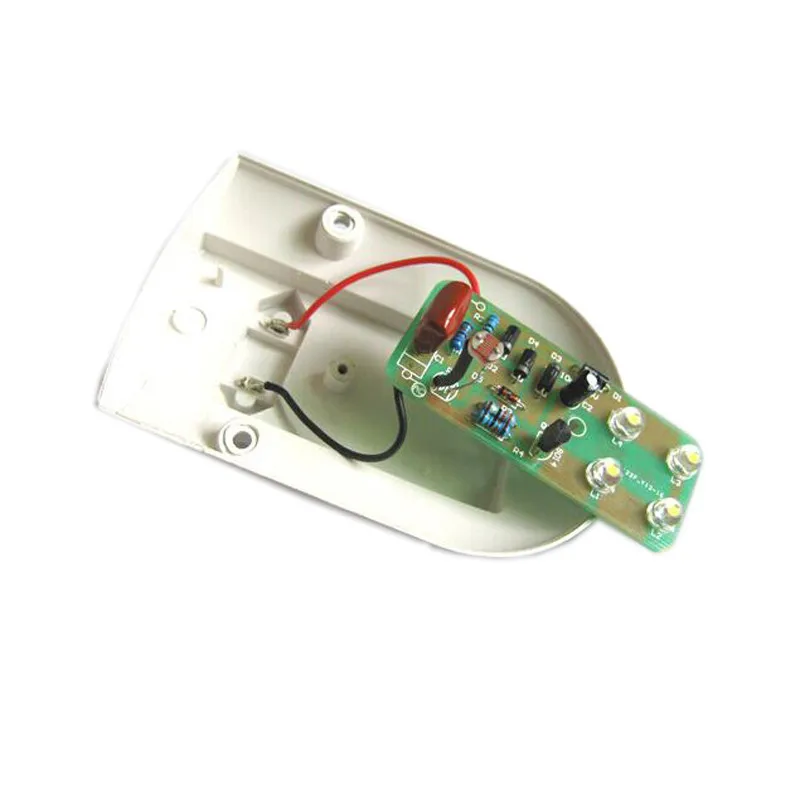
4. Fixing screws 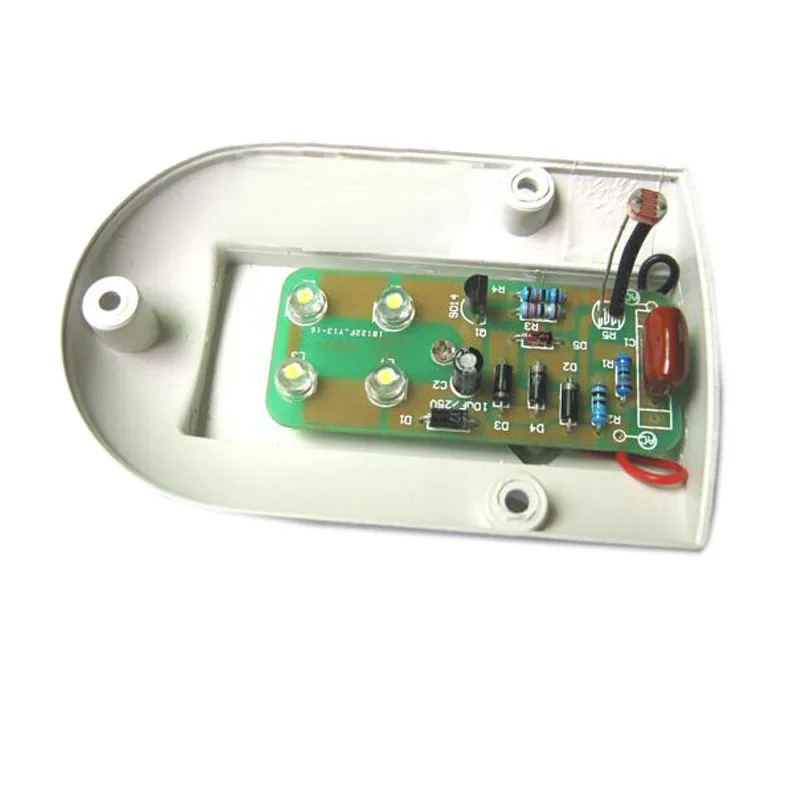
5. Assemble the front and back cover together by screws 


- Unit Type: piece
- Package Weight: 0.05kg (0.11lb.)
- Package Size: 15cm x 12cm x 10cm (5.91in x 4.72in x 3.94in)
Write Your Own Review
Discover More Products from Its Parent Categories: